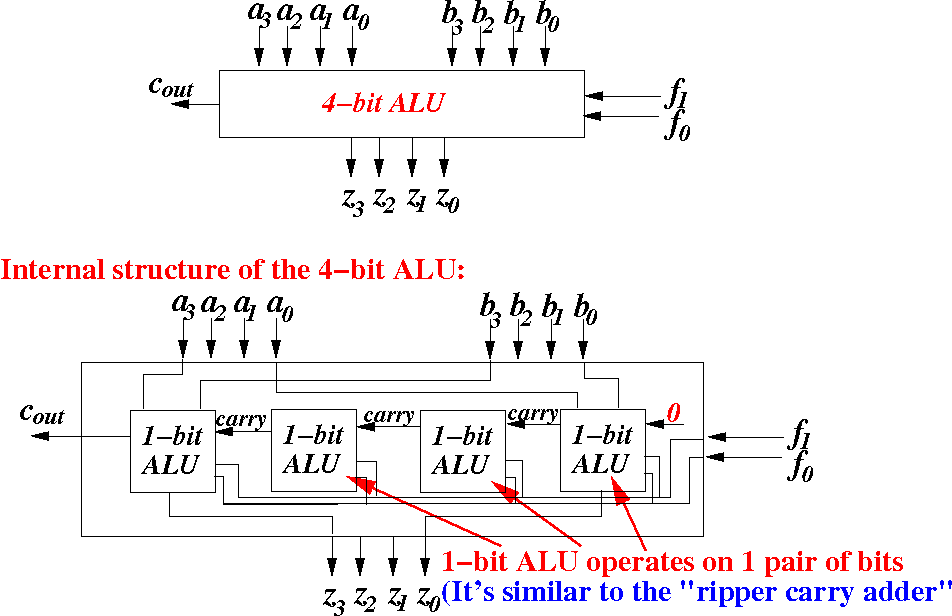
Simplifying our CPU (so that we can build our toy CPU easier)

  • We will limit the operations performed by the CPU to these 4 operations:

      • Opcode 00 operand1 + operand2
      • Opcode 01NOT(operand1)
      • Opcode 10 operand1 AND operand2
      • Opcode 11operand1 OR operand2

  • Notice that:

      • These 4 operations can be performed on individual bits - separately, i.e.: one bit at a time !  

    This property allows use to design an 1-bit ALU component and use it to construct a n-bits "ripple carry" ALU

Simplifying our CPU (graphically explained)

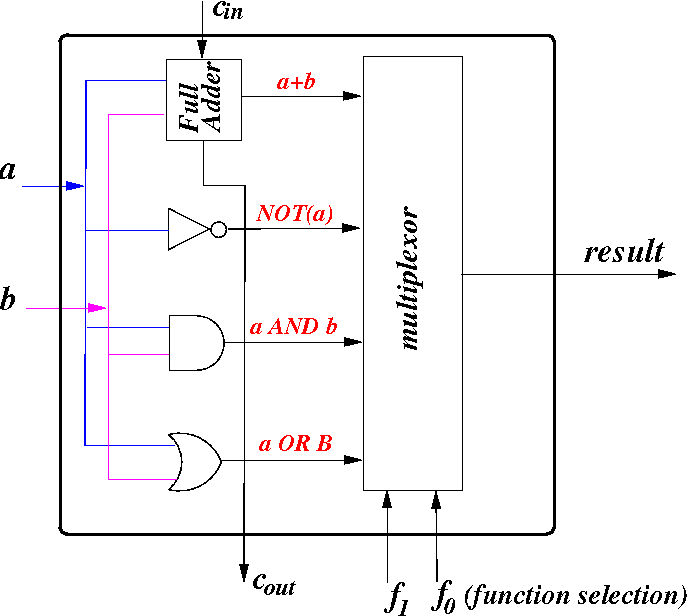
Functionality of the 1-bit ALU circuit

The 1-bit ALU operates on (pair of) input bits a and b according to the function sel code:
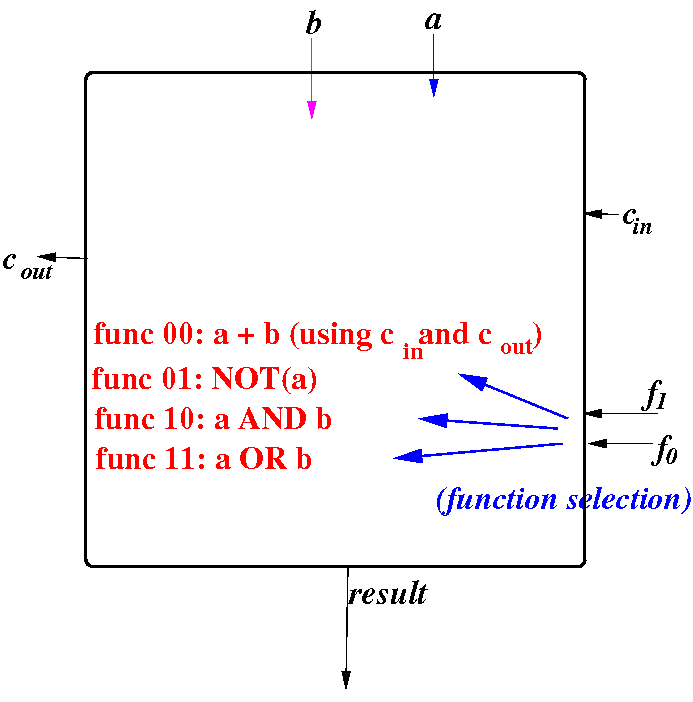
Designing the 1-bit ALU

We now design the 1-bit ALU component:
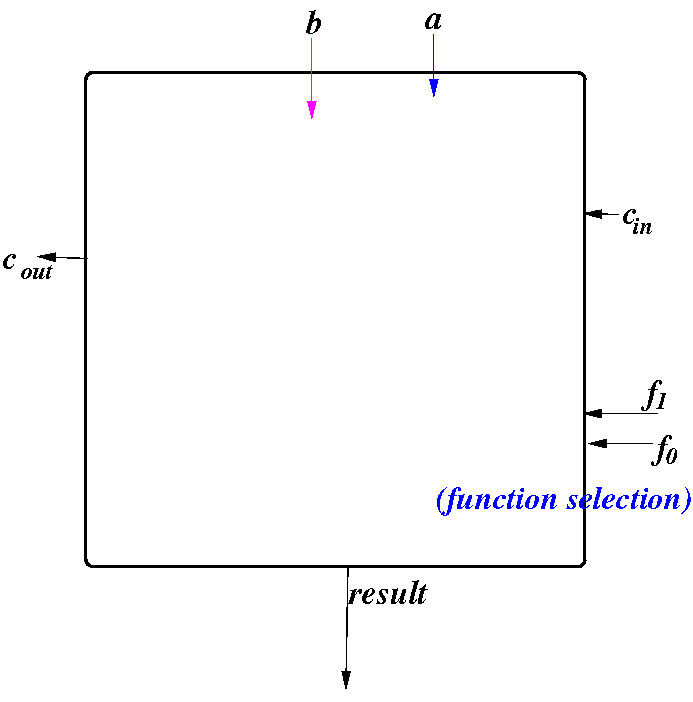
Designing the 1-bit ALU

Form all possible results: result 1: a + b (with carry in and carry out)
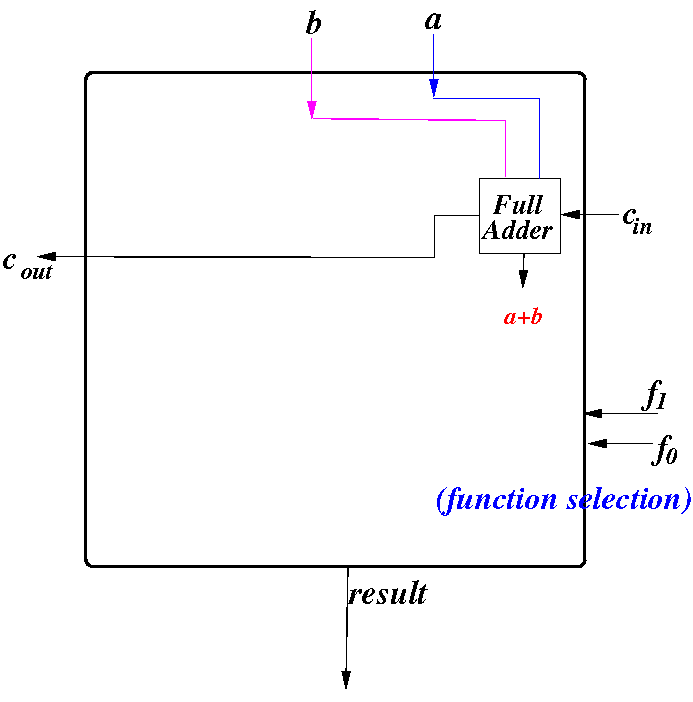
Designing the 1-bit ALU

Form all possible results: result 2: NOT(a)
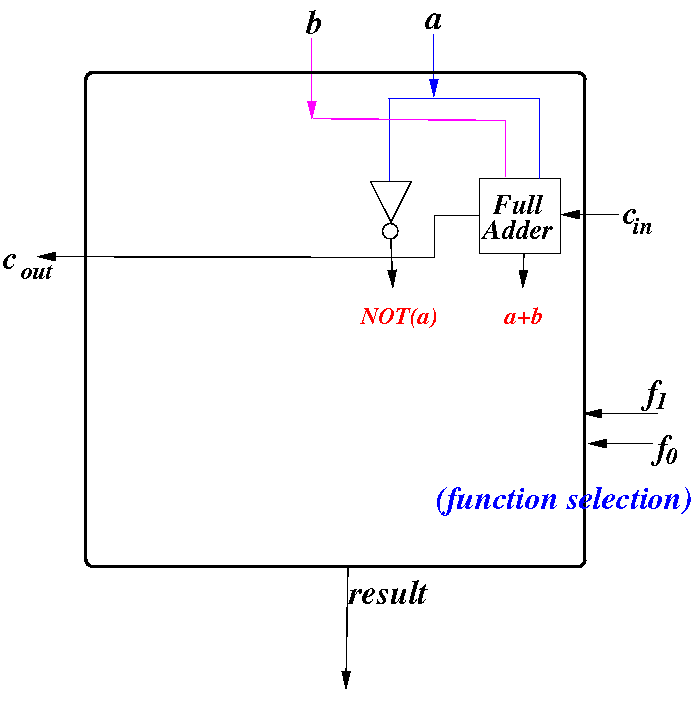
Designing the 1-bit ALU

Form all possible results: result 3: a AND b
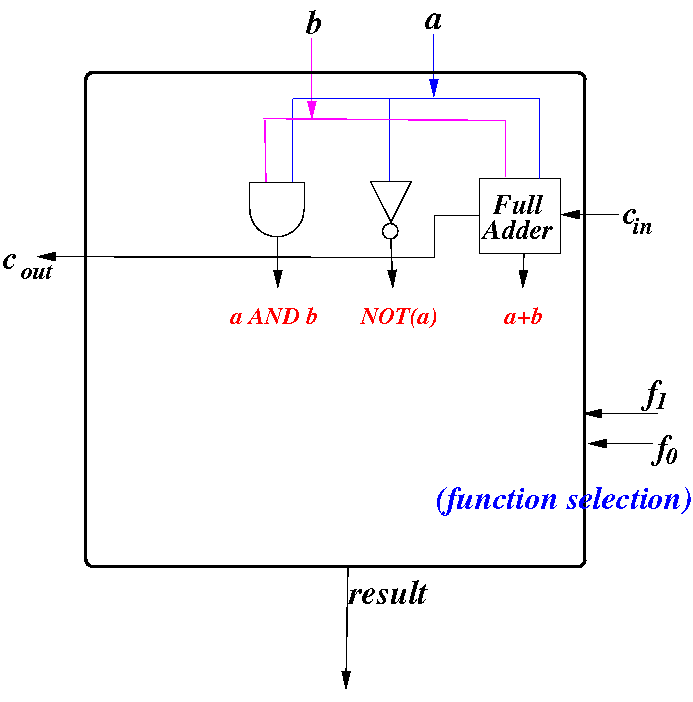
Designing the 1-bit ALU

Form all possible results: result 4: a OR b
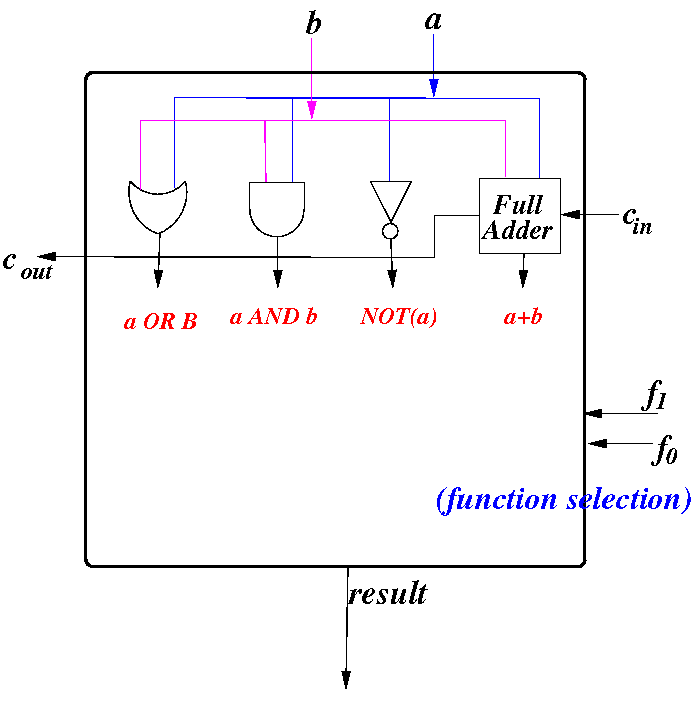
Designing the 1-bit ALU

Use a 4 way multiplexor controlled by the function selection signal to select the desired result:
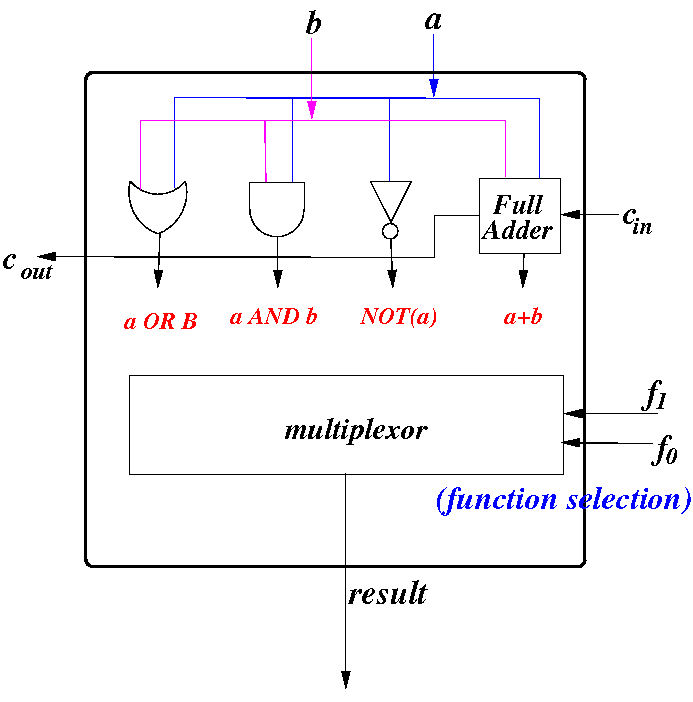
Designing the 1-bit ALU

Connect the "sum" output to the first input (sel=00) of the multiplexor:
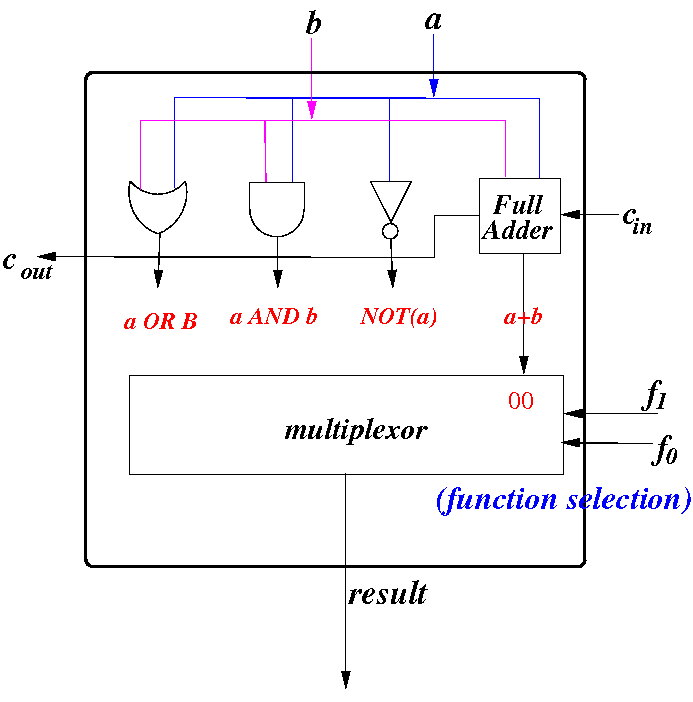
Designing the 1-bit ALU

Connect the "NOT" output to the 2nd input (sel=01) of the multiplexor:
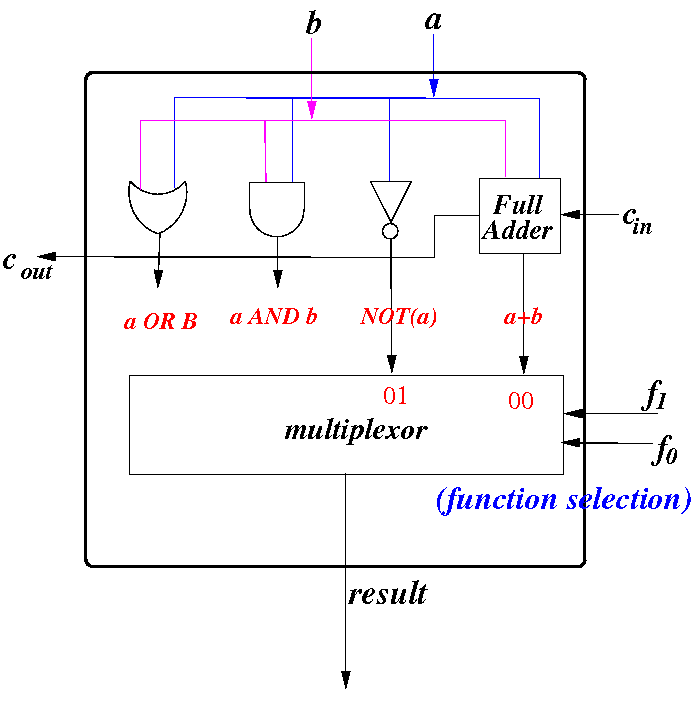
Designing the 1-bit ALU

Connect the "AND" output to the 3rd input (sel=10) of the multiplexor:
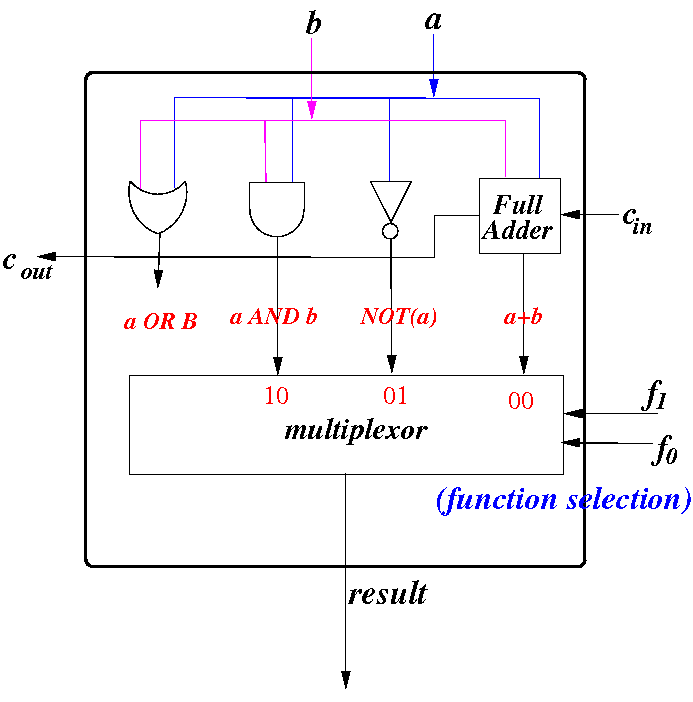
Designing the 1-bit ALU

Finall: connect the "OR" output to the 3rd input (sel=11) of the multiplexor:
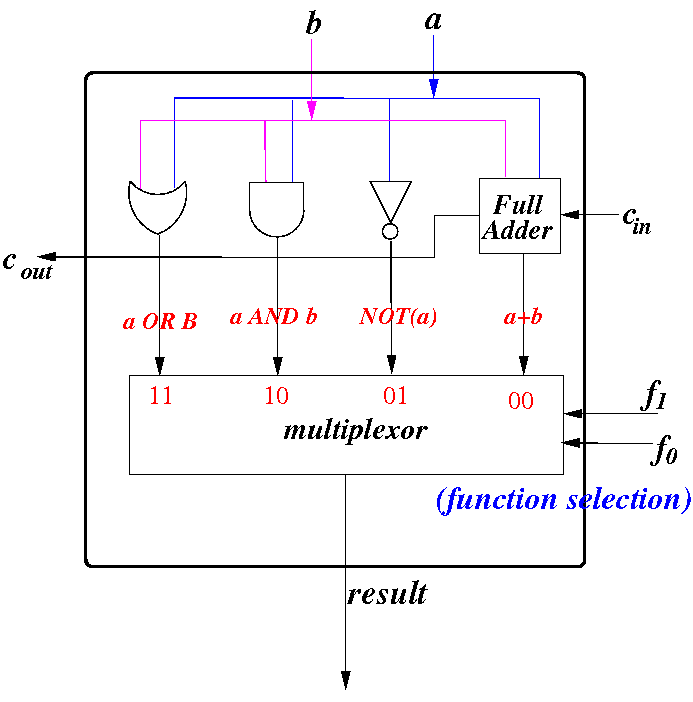
DEMO

The demo circuit of the 1-bit ALU has a different orientation (due to EDiSim's displaying convention):
DEMO
 

  • The 1-bit ALU circuit:

      /home/cs355001/demo/circuits/1-bit-ALU
      /home/cs355001/demo/circuits/1-bit-ALU.ver2 
                  (better carryOut)  
      

  • The 4-bit ALU circuit:

      /home/cs355001/demo/circuits/4-bit-ALU